
Made to measure
Auto-generating woodworking diagrams
Nick Stanchenko · August 2026
Suppose you’ve built a 3D model of a chair or a cabinet and you like the way it looks. How do you replicate it in wood?
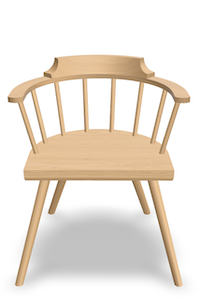
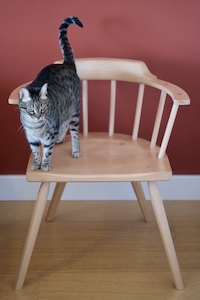
I don’t mean what tools to use or what steps to follow (woodworkers can figure that out), but rather this: how do you make the wooden object stay faithful to what’s on the screen?
You need some sort of diagram to transfer the dimensions to the wood.
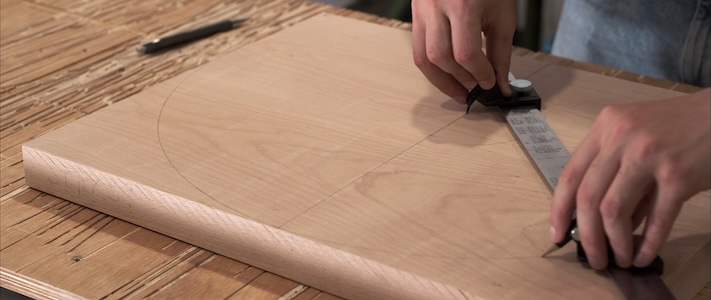
Woodworking literature is full of such diagrams, although they are usually hand-made for each project. With Layout Computer, I had to find a way to generate the diagrams automatically for anything you design in the app.
This post is about how I approached it.
Painting by numbers
First, does it even make sense to replicate the model exactly?
The on-screen chair is a quick prototype rather than the real thing. It has one job: to give you a sense of proportion and balance.
So major things like seat width and depth are important to match in the build. Some elements, however, are “just there”; they are stand-ins you don’t model explicitly (which saves time).
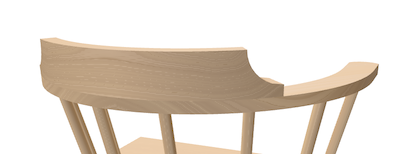
Instead, you add your own curves and roundovers when woodworking. By feel.
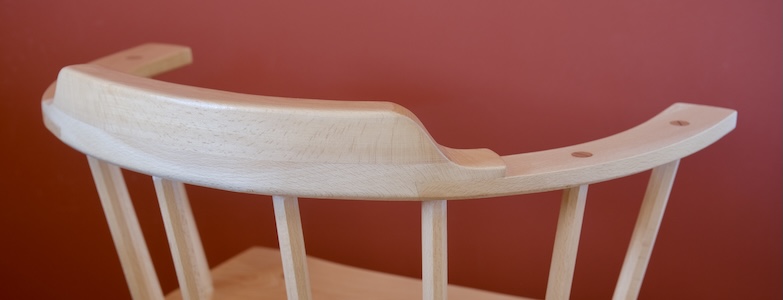
The model also does not include joinery or hardware, as there are too many options. Drawers are a good example: you’ve got dovetails or lock rabbets; wooden runners or metal slides; side grooves or drawer slips…
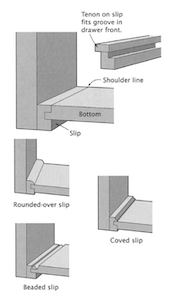
That’s why there will be no diagrams for backrest shape or drawer construction. And that’s OK. Layout Computer gives you the key dimensions, but also the freedom to add your own flourish.
It’s less like painting by numbers and more like seeing a bow and arrow in the guiding stars.

Style influences
Having decided what to show (or rather what not to show), I had to pick how to show it.
Woodworking magazines pride themselves on lifelike exploded diagrams, peppered with useful annotations and tips.
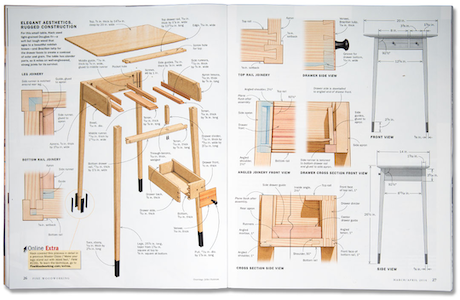
I think these are beautiful.
Alas, I’ve just explained that Layout Computer can’t presume what joinery you’ll use. I also find that 3D is great for assembly instructions (think IKEA) but not so great for dimensions. Perspective can really distort things, and all the shading can be distracting.
The “front view” and “side view” to the right of the image above are more like it. Similar drawings appear in woodworking books.
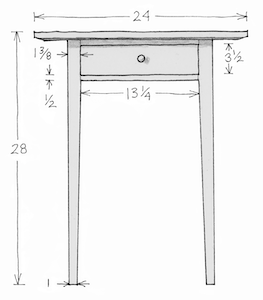
What do you get if you take simplicity to the extreme? The austere sketches woodworkers make for themselves. Clear and devoid of unnecessary detail (which is all in the mind).
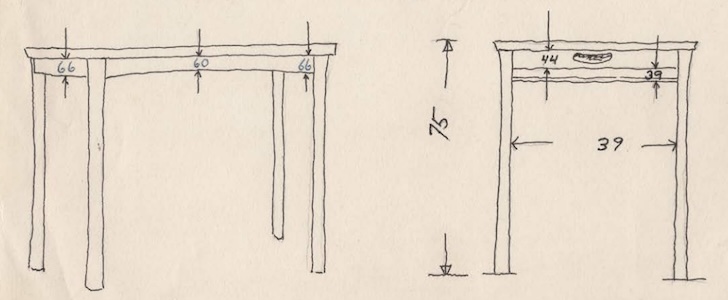
For Layout Computer, I tried to keep the spirit and minimalism of the hand-drawn, but added a bit of polish inspired by professional illustrations.
While the diagrams appear flat, some do take an oblique “3D” view.
Diagram-o-matic
Now we are getting into the nitty-gritty of diagram production.
I mentioned earlier that Layout Computer has to generate diagrams automatically for anything you design. This matters because designs vary a lot.
Take sizing the diagram. Initially, I ignored this and just scaled most diagrams to fit a box of 800×400 pixels. It did not work well.
Some came out gratuitously spacious:
And others were basically unreadable:

Obviously, simpler diagrams should be smaller and more complex ones bigger. Depending on the number and density of annotations, even same-size parts can require different scales.
I’ve tried a few approaches, and what seems to work best is to give each label on the diagram a certain amount of space (say, 100×100 pixels) on average. Two labels? Make the part 200×100 pixels. Eight labels? Make it four times larger by area (400×200 pixels).
Of course, this only makes the diagram appropriately sized. It does not make it less cluttered.
The magic of tidying up
We don’t want too many annotations, and we don’t want them to be cramped. What to do?
The obvious solution is to make multiple simpler diagrams. For example, one for the overall arm shape and one for where to drill for sticks.
But we don’t want a thousand different views either.
In a bespoke, hand-drawn diagram, the artist can take the time to carefully place each annotation wherever it fits.
Layout Computer does not have this luxury: everything is automatic. But we can still foresee common arrangements and try to spread things out. The key to this is that furniture is often symmetrical.
Here, the two sets of legs carry different information: the sightline angles for drilling and the offsets from the edge of the seat.
If there is no symmetry, there is often repetition.
Remember the “spotted in a bar” example? Because adjacent shelves or partitions are clearly the same size, we can dramatically reduce the number of annotations.
No more clutter — as long as you don’t fill it with trinkets.
And that’s a wrap
There are still many things I left out: how to actually generate the diagrams, how to keep the font size legible at all scales, how to project 3D parts into 2D, and so on. Consider them an exercise for the reader 🙂
If you’ve used Layout Computer for a while, you’ll have noticed the recent improvements. I hope they make designing furniture more pleasant.
If you are new to Layout Computer… go design something to see it in action!