
Take a seat
Designing a tool for designing chairs
Nick Stanchenko · November 2026
It’s 9am and I am about halfway through a 7-hour train journey across Norway.
An unlikely time and place to think about woodworking? Perhaps, although red and gray timber-clad barns and dwellings invariably dot the serene landscape, evoking the craft.

Yet the book in my hands transports me much farther, to American Appalachia. This is Andy Glenn’s Backwoods Chairmakers, and I am beginning to build a digital ladderback chair.
A what?
Chairs are notoriously hard to design and prototype: you have to think about comfort, strength, and looks, all while contending with a plethora of angled and bent parts. Try sketching a chair (by hand or mouse), and you’ll know what I mean.
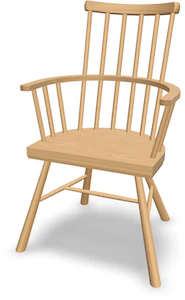
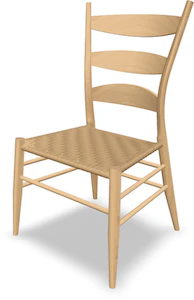
To solve this, I’ve built Layout Computer: it helps you quickly try different ideas and settle on a design before translating it into wood. This story is about adding a new chair family to the app.
Just enough variety
Of course, the app is only useful if it supports chairs big and small, basic and sophisticated. Which brings me back to Andy’s book. Aside from great storytelling, it’s a vast visual record of all kinds of ladderbacks, and a glimpse into the makers’ minds.
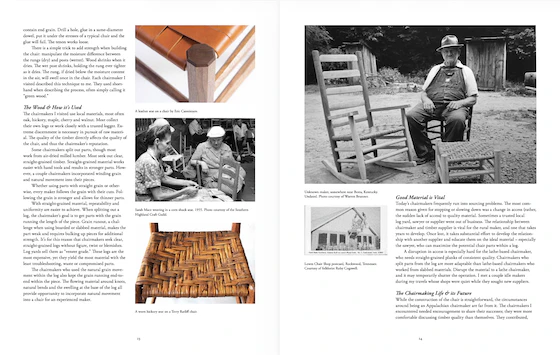
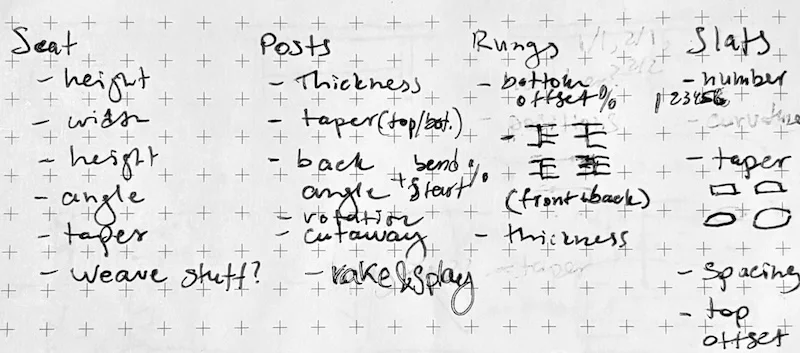
My first goal was simple: study the book, figure out the key aspects that make chairs different, and distill them into a set of buttons and dials you could configure a chair with.
Let’s start with the obvious. Seat height, width and depth. The number of slats that form the back ladder.
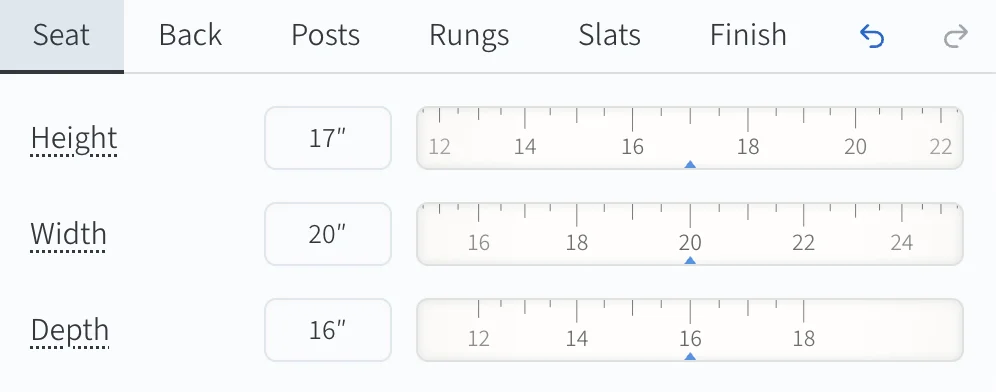
The real dilemma, however, is not what to add: it’s what not to add. Too many controls, and the app becomes overwhelming and fiddly. Ideally, it needs just a few settings that cover most chairs.
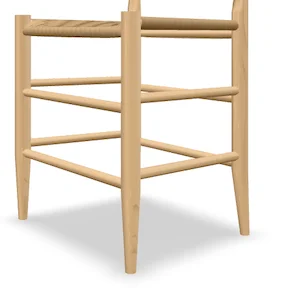
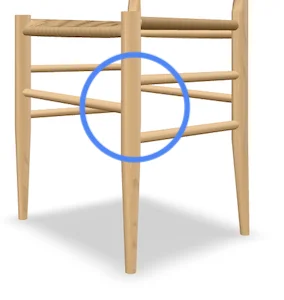
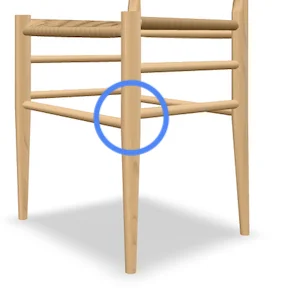
Take rungs, the horizontal pieces connecting the vertical posts. We’ve got to position each rung individually, right?
Nope. Most chairs use one of a handful of common arrangements dictated by strength. Pick the arrangement and the floor clearance. Done.
Undoubtedly, the hardest to rein in were the slat settings. (I eventually settled on ten.) It’s easy to see why: slats are the face of the chair, and the possibilities are almost infinite.
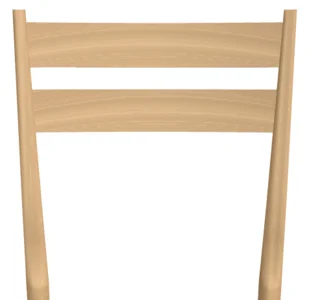
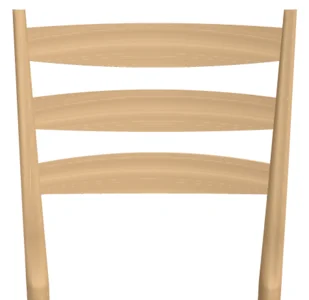
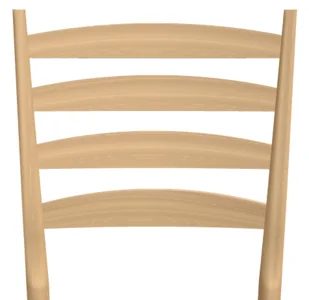
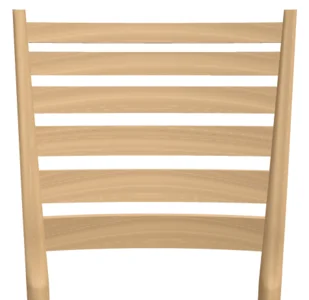
You won’t see custom curves in the app (feel free to cut the wood to any shape!), but what’s there is simple to adjust and shows the important proportions.
☙
The hours flew by as I flipped through the book again and again. Arriving in Bergen, I stepped off the train with a first draft of what I would need.
Building up steam
It was time to get my hands dirty. A basic frame emerged in a few evenings from the same building blocks I had developed for stick chairs two years ago.
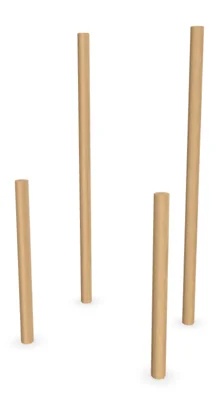
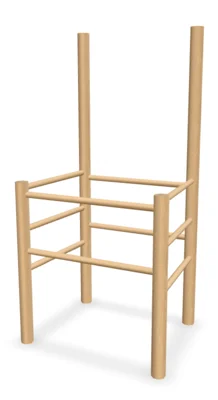
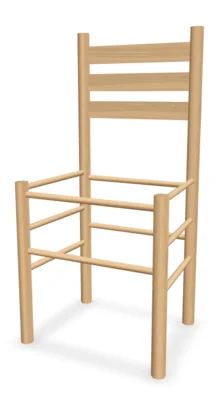
Next, the straight and square had to give way to the curved and oblique.
Steam-bending wood is probably the most intimidating of all the complex chairmaking operations, and I too braced for a challenge. Yes, computers can bend anything… but not without some math.
You see, my plan was that you wouldn’t set the bend angle directly. Instead, the app would calculate it from five other angles. Sounds crazy?
Here’s my reasoning. As a designer, you want to tweak what’s below and above the bend independently. The upper part of the chair is about the ergonomics (seat and back lean, back flare). The lower part is about the stance (leg rake and splay).
The trigonometry — the magic that tied everything together — wasn’t too bad. What actually ended up being a little more complex was tapering the fronts and sides of the posts along the bend to make them less bulky.
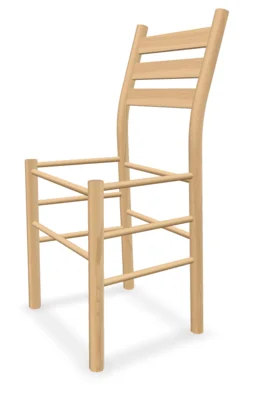
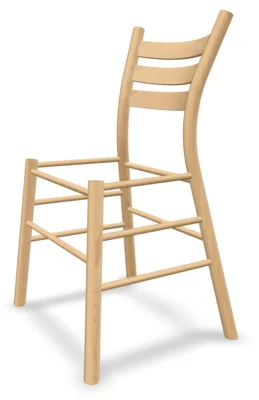
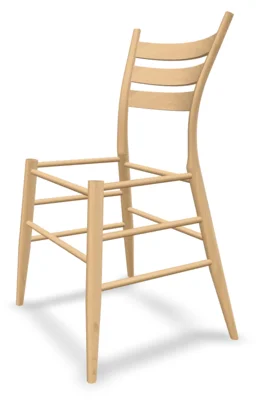
I had a chair! Wait, is it really a chair if you can’t sit in it?
The weave
I knew I wanted to complete the model with at least a nod to the ladderback’s characteristic seat style.
The Woven Chair by Brandy Clements and Dave Klingler was useful in selecting the easiest material and pattern combo to imitate: splint reed, herringbone. I reasoned that in a pinch, a darker shade could also pass for hickory bark or leather.
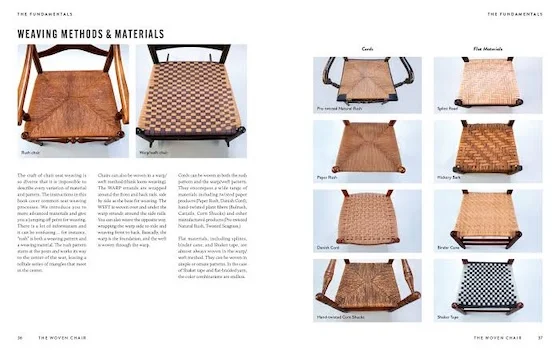
Hold on, though, how do you replicate a woven seat in digital form? It looks and works like nothing else in the app. There are curves everywhere. And everything needs to mesh and locate very precisely.
To complicate things further, on a tapered seat some vertical strands (called “warps”) need to be tucked in and cut short of reaching the back of the chair.
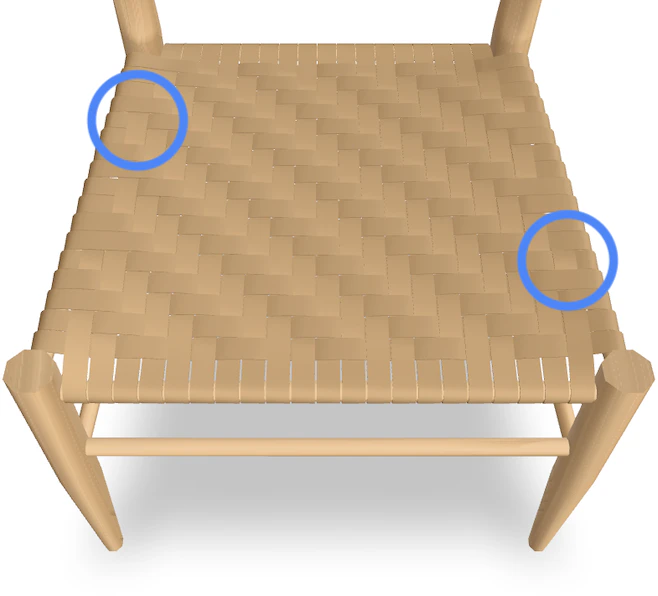
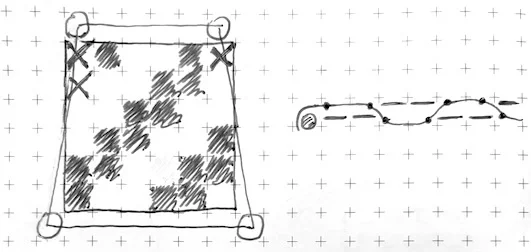
It took a lot of poring over close-up photos before I could map this out. Then, as if handling imaginary warps and wefts, I programmed the key points where each began, went over or under, and ended.
OK, now that was a chair you could sit in. Or was it?
From screen to wood
Woodworkers say the last 10% of a project takes 90% of the time. It’s true. Here, the last 10% was coming up with construction diagrams that would allow you to recreate your design as an actual, sittable chair.
I’ve written about diagrams in the previous post. With flat parts, they are easy-peasy.
As soon as you add bends and compound angles, it becomes tricky to find the right perspective. There was another problem, though. Diagrams are closely tied to the process of making, yet I’ve never built a wooden ladderback.
What to do? Ask seasoned chairmakers and follow their advice! (Thanks!)
I learned that the first step was often to make a physical template (called a “story stick”). To facilitate this, I pulled several previously scattered diagrams into a single view.
I also learned my angle diagrams didn’t match any existing convention. To make them more familiar, I echoed the real-life setup at the drill press, including plywood jigs used for leaning the parts.
To use these, you still need to know how to build the chair. But that I can’t teach you.
Drum roll
Thank you for following along with my process 🙂
The ladderback design tool is now live. Try it out! And stay tuned for more additions to the family. Armchairs? Rockers? Who knows. Maybe I’ll even add a different weave pattern.