
How to design a staked stool
Follow along using Layout Computer — a free furniture design app (no registration required). Simple controls, immediate feedback, layout diagrams.
Design a stool →A staked stool is one of the simplest furniture forms, yet one of the most practical: your guests do need somewhere to sit.
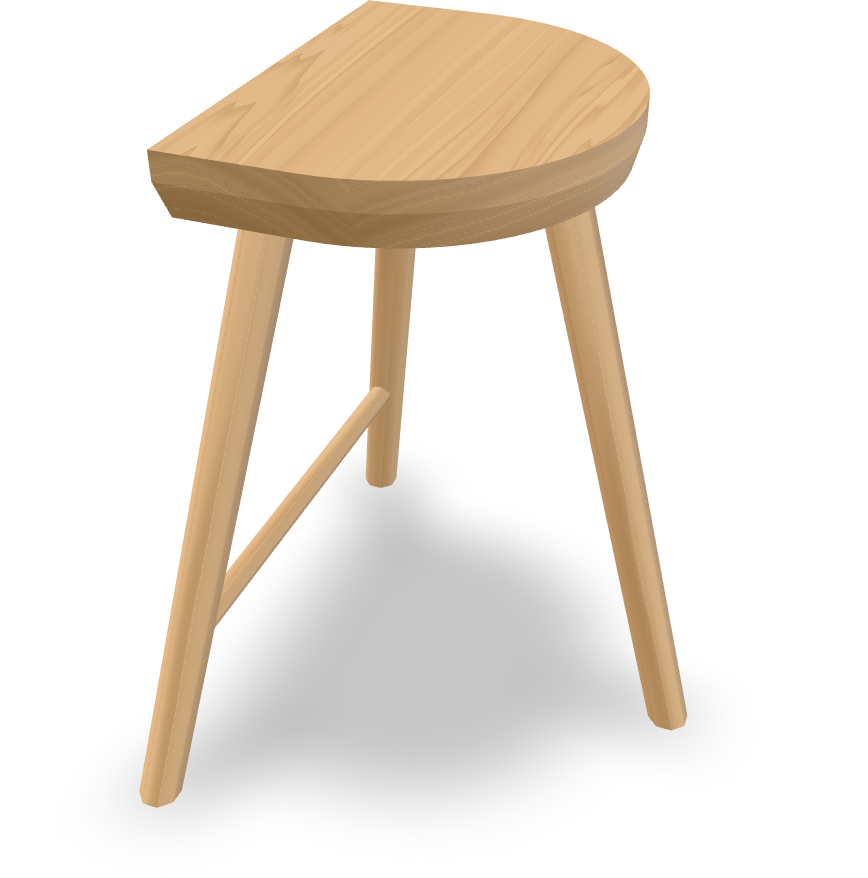
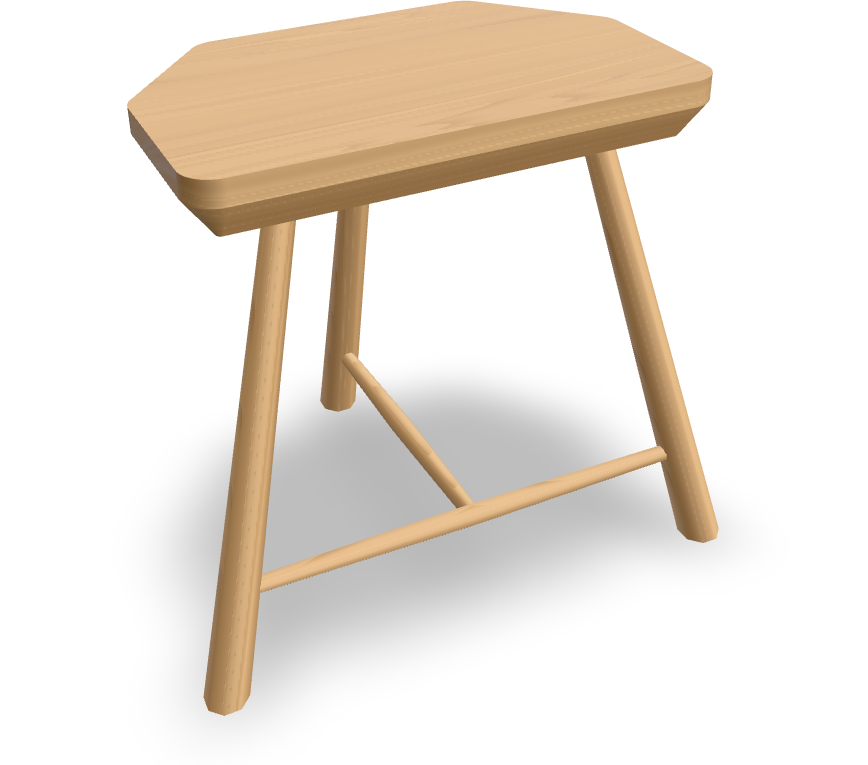
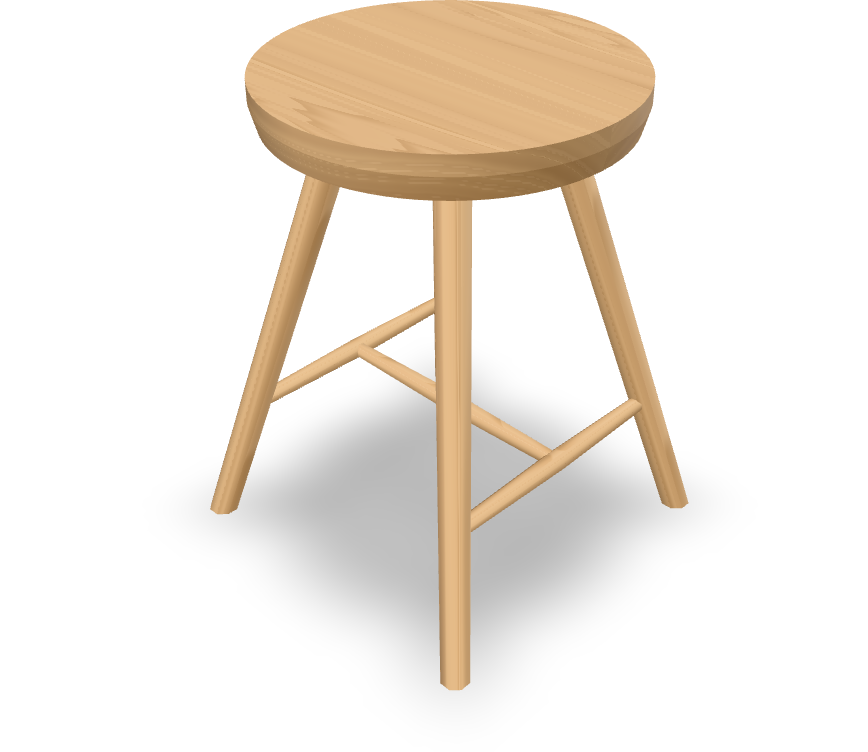
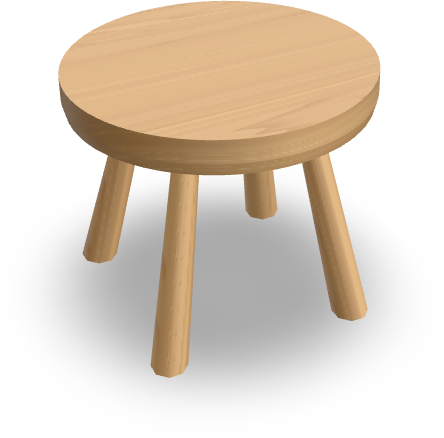
A surprising variety
It’s remarkable how different stools can look, despite having the same few basic parts (a seat, 3–4 legs and 0–4 stretchers).
The “stool sample” above (obligatory joke) gives you an idea of where the differences come from: varying heights, seat shapes, numbers of legs, leg angles and placement, and stretcher arrangements.
Of course, there is more to it. The choice of wood and finish makes an equally big impact.
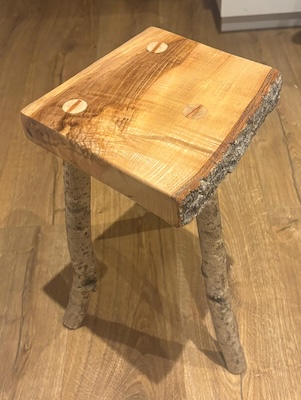
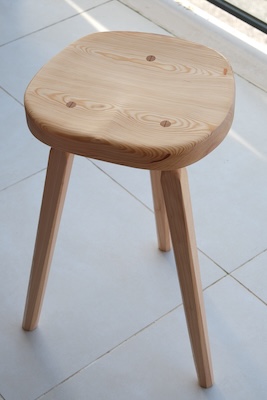
But let’s set the materials aside. How do you come up with a design?
There are very few constraints. One is the human body. Human Dimension and Interior Space by Julius Panero and Martin Zelnik provides all the reference numbers: recommended seat height, depth, width, angle for office work, dining, lounging, etc. (No recommendations for milking stools, though.)
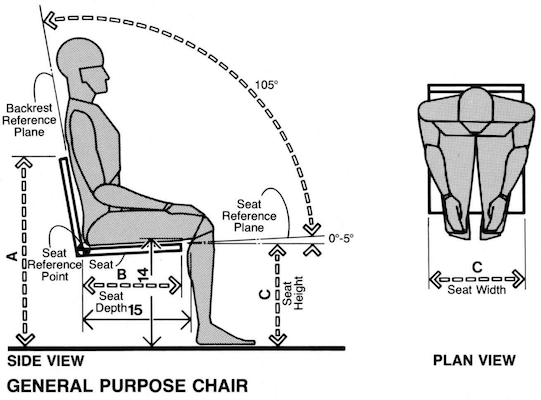
The other constraint is strength. Here, I’m afraid, you just have to use common sense. And thick-enough straight-grained legs.
Having few constraints means you can design almost anything. Now what?
Quick stool prototyping
In my experience, the biggest challenge in stool design is imagining what different leg angles will look like.
Common design approaches don’t work very well. Drawing 3D angles with pen and paper is tricky. CAD software? Not fun to adjust and re-adjust.
What does work is physical models. Bend the wire to your liking and measure the angles with a protractor.
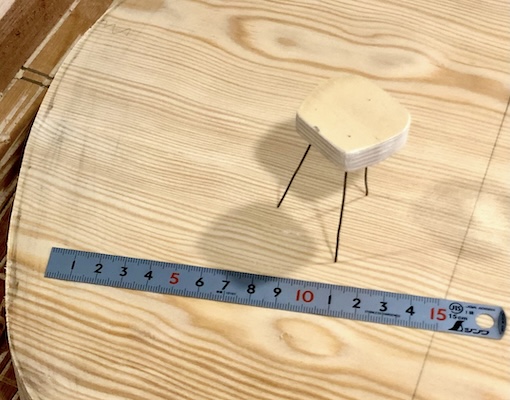
It’s still hard to imagine what the stool will look like, though.
This is where Layout Computer comes in: you can try ideas instantly and see what looks best in a realistic 3D rendering. And you get a set of layout diagrams for actually making the thing.
Step 1: Get started
First, create a new project (free, no registration). Don’t dwell on which template to pick, since you can adjust all the options later.
You can switch between inches and millimeters in project settings. In this guide, we’ll use millimeters.
Step 2: The seat
Choose between a round, D-shaped, or rectangular seat. Remember that this is just a model — feel free to add any curves you like when it comes to making the wooden stool.
Different seat shapes will have slightly different controls.
Pay close attention to the “comfort” settings. (Consult the book if you have to.)
Step 3: The legs
Next, decide on the leg angles, position and thickness.
Step 4: The stretchers
This step is optional, but if you do add stretchers, you can play with different arrangements and stretcher height.
Step 5: Get layout diagrams
Once you are happy with the design, the “Layout” view will give you all the key dimensions.
All done!
☙
Oh, and what about the finer details: scooped seat, various chamfers, roundovers and facets?
You don’t need to model them to start building the stool. (“All models are wrong, but some are useful.”) And in my experience, once you have a wooden, not digital, project in front of you, you get much more clarity about what details it needs.
Start designing →