How to design dovetails
Follow along using Layout Computer — a free furniture design app (no registration required). Simple controls, immediate feedback, layout diagrams.
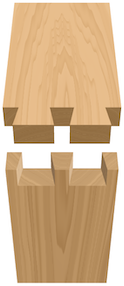
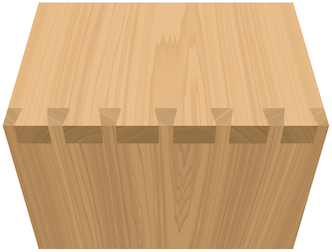
Design a dovetailed joint →A dovetailed joint is used for connecting the ends of boards. This type of connection is common in drawers, boxes, chests, cabinets, and so on.
Do dovetails need to be “designed”?
In many cases, no.
If you are using dovetails just because it’s a strong joint that resists flexing, simply mark the tails (or pins) at regular intervals and call it a day.
Indeed, many drawers on old furniture use this approach. There is nothing showy about them, and occasionally the joint — being hidden most of the time — is even a tad sloppy.
But on bigger pieces, dovetails can become a decorative element.
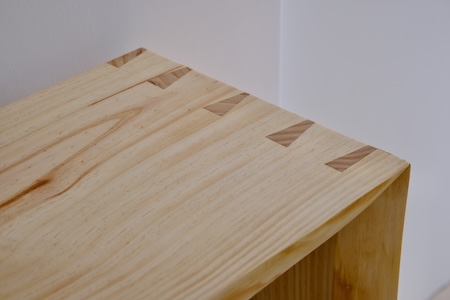
You can add visual interest by making the spacing less uniform.
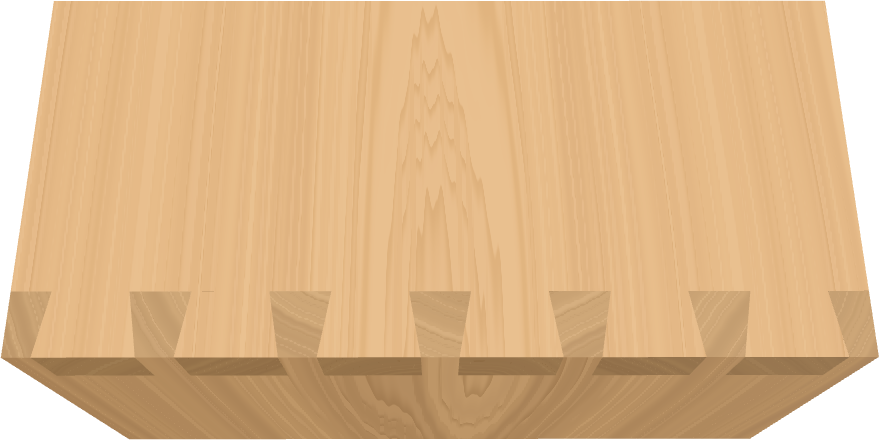
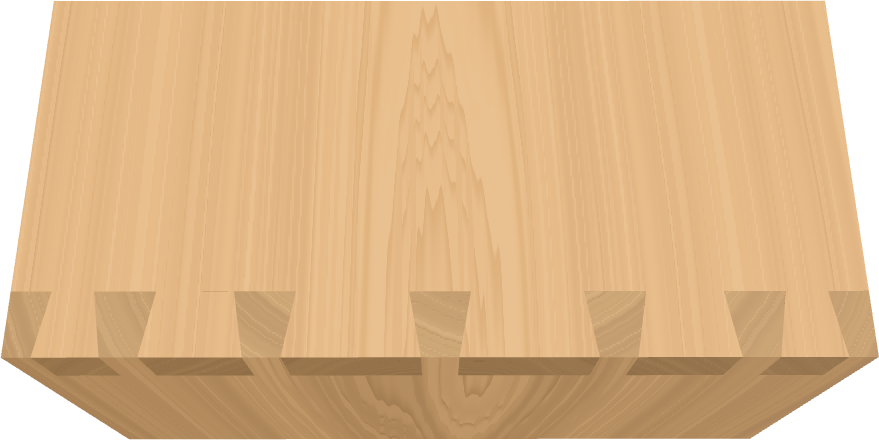
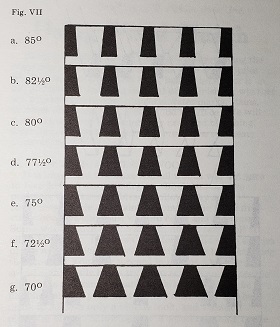
This is, of course, just the start. There are many other options to play with: different angles, pin and tail ratios, and numbers of pins.
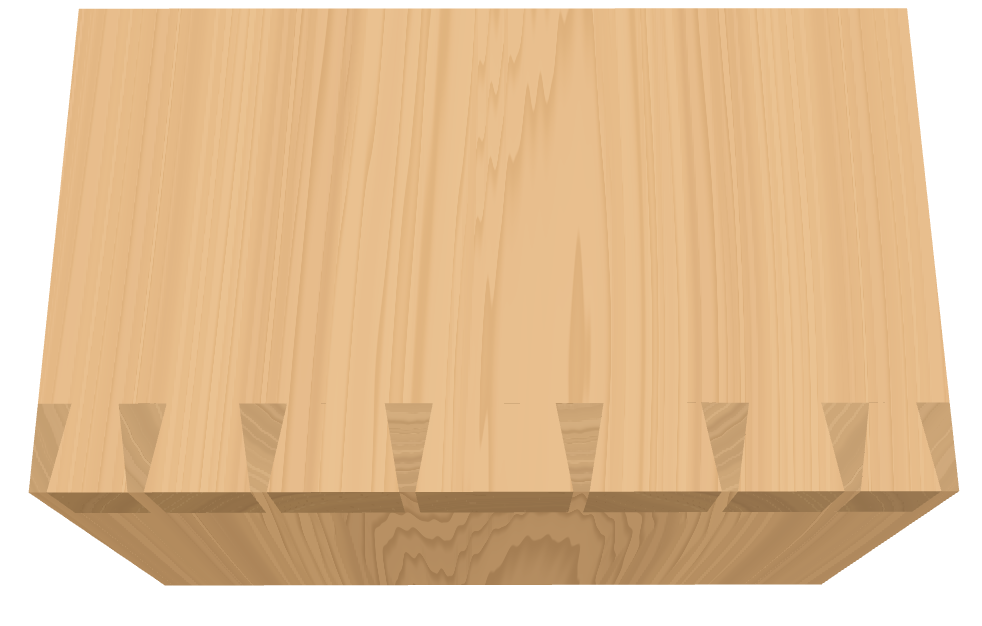
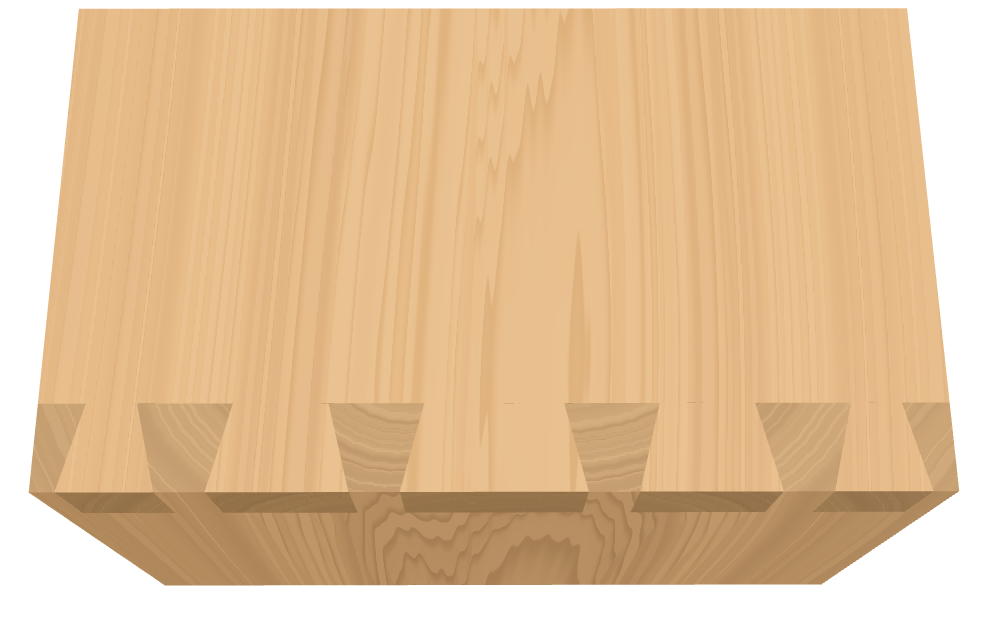
Mark Duginske’s excellent 1984 article covers this in detail and was a big inspiration for Layout Computer.
Arriving at a design
Sounds fun, but how do you implement this in practice?
Traditional methods for laying out dovetails (e.g. using dividers) don’t help with uneven layouts. And you will quickly get tired adjusting your dividers every 10 seconds to experiment with a different spacing.
There are a few dovetail calculators online, but they typically focus on the resulting diagrams, not on exploring the design options.
This is where Layout Computer comes in: you can try things instantly and see what looks best in a realistic 3D rendering. And you still get a layout diagram.
Step 1: Get started
First, create a new project (free, no registration).
You can switch between inches and millimeters in project settings. In this guide, we’ll use millimeters.
Step 2: Dimensions
Choose the orientation and dimensions of your boards. This part is not really subjective.
The app automatically adapts the number of pins and tails and their spacing to maintain the same “look” across different sizes.
Step 3: Proportions
Next, select your preferred angle and how big the tails and the half-pins should be compared to pins.
There are many “rules” about the angles being 1:6 or 1:8 or 14˚ for certain types of wood. There are also people who say it’s all nonsense.
Likewise, some people swear by thin pins. And some don’t.
Just choose what you like or what your tools impose.
Step 4: Spacing
With the dimensions and basic proportions out of the way, you can now play with spacing.
This is, perhaps, the most subjective part, not least because only you know whether you have the patience to cut 20 tails and 21 pins.
For vertical dovetails, one-way graduation looks best. (It mirrors how real-life objects are often heavier at the bottom.)
Step 5: Layout
Switch to the “Layout” view and follow the instructions to transfer the layout to your workpieces.
You don’t have to follow the layout to the letter. The main goal is to settle on a design. The numbers are just a way to replicate it easily.
All done!
Start designing →