How to design a sideboard (or any cabinet)
Follow along using Layout Computer — a free furniture design app (no registration required). Simple controls, immediate feedback, layout diagrams.
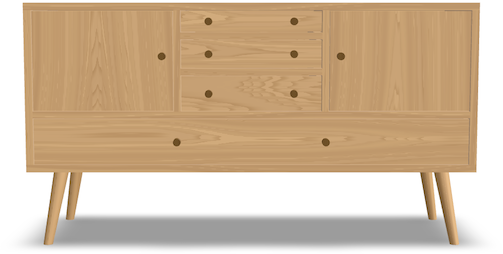
Design a sideboard →A sideboard is a wide cabinet, usually with legs, that looks great in living rooms.
Too many options
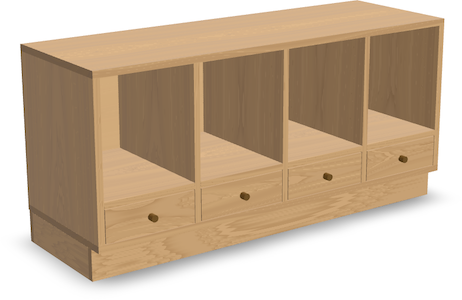
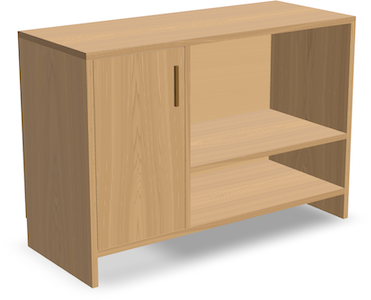
There are a lot of decisions you need to make when designing any kind of wooden cabinet: width, height, depth, where to place dividers, doors and drawers, what base to use. And that’s not even considering material selection, edge profiles, curves, and so on.
How do you determine these things?
A good place to start is the form: the overall dimensions, as well as the subdivisions. The form is what first catches the eye, but it’s also practical: will your book collection (favorite vase, LP player, …) fit?
The question still stands though: how do you determine the form?
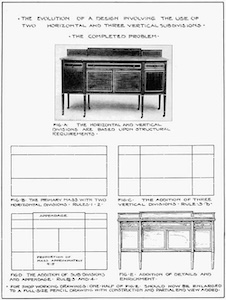
Luckily, there are several books that can help you: William Varnum’s Industrial Arts Design (1916) and Tolpin & Walker’s Good Eye (2025).
Varnum’s book in particular was a big influence on Layout Computer, and that’s what we’ll be referencing.
Quick cabinet prototyping
Even armed with design guidance, you will soon face a problem. You can generate 10 ideas in a minute — great. But visualizing them is tricky.
Purely for speed, nothing beats pen and paper… Except paper is very slow for iterating. Want to make the case a little wider? Welp, redraw the whole thing.
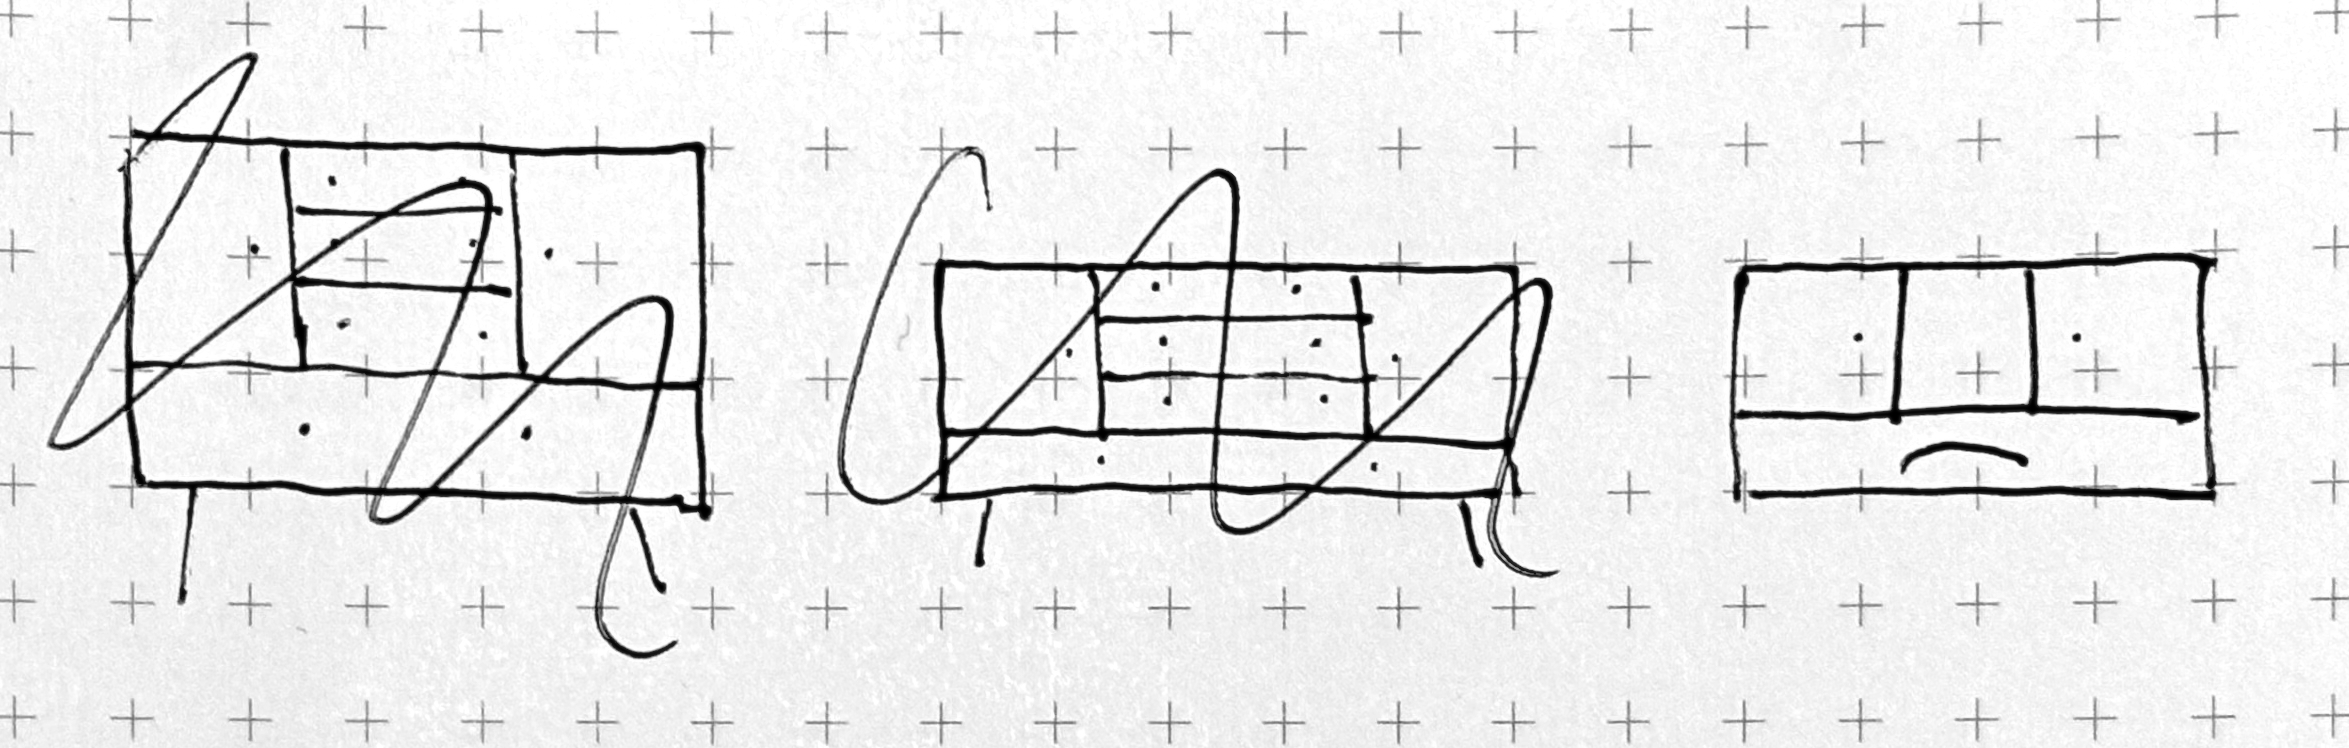
Drawings also convey a very limited sense of scale and proportion, unless you are good at drawing.
What about 3D modeling? It yields a much better visualization, but quickly rearranging things in an app like SketchUp is not for the faint of heart.
This is where Layout Computer comes in: you can try ideas instantly and see what looks best in a realistic 3D rendering. And you get a set of layout diagrams for actually making the thing.
Example design
Let’s see what it takes to design the sideboard at the top of this page.
Step 1: Get started
First, create a new project (free, no registration). Use the empty box template.
You can switch between inches and millimeters in project settings. In this guide, we’ll use inches.
Step 2: Size the case
Decide on the overall case dimensions. This is usually governed by the room size and what needs to fit in the cabinet. (If you have Layout Computer Pro, you can use the “View in space” function to sense-check your dimensions.)
Varnum’s book tells us to use a simple width/height ratio, avoiding the most trivial 1:1 and 1:2. For convenience, Layout Computer shows a few common ratios. 5:2 works well.
You can resize your prototype at any point. The app will adapt everything else to match.
By the way, if you are using dovetails to put the case together, check out the dovetail design guide.
Step 3: Add dividers
A large shelf seems appropriate for our case. But should it be right in the middle?
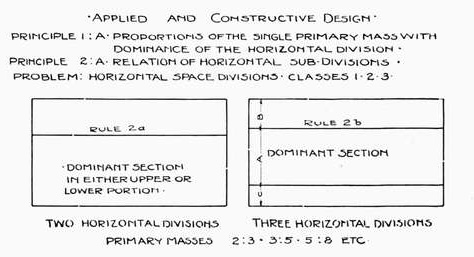
Varnum says that if we have two sections stacked vertically, one of them should dominate.
You can set the spacing manually, but it’s much easier to tell the app to keep it at a simple 1:2 ratio.
Layout Computer provides common shelf and partition spacing options so that you don’t need to waste time dragging each divider by hand.
Step 4: Add more dividers
Repeat the previous step for as long as you feel that some of the sections are too big.
You can select any section and subdivide it further. For example, the top half of our sideboard could use a couple of vertical partitions.
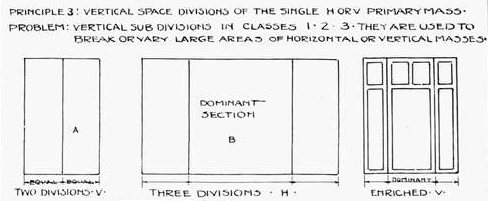
What about the spacing? The book has an opinion on this too: the central section should be a bit bigger than the sides, as in classical architecture. This is nicely achieved with the “graduated” mode.
Step 5: Add doors
Doors work well for not-too-wide sections that need to be protected from dust.
There’s a myriad of options for door construction (frame and panel, MDF, …) and pulls (wood, brass, …). But in a prototype, you don’t need to worry about it. So Layout Computer keeps it simple.
Select each section and add a door. Flip the hinges. That’s it.
Notice how you can edit multiple doors in bulk.
Step 6: Add drawers
Finally, we can fill the remaining space with drawers. But first, we’ll need to subdivide the top middle section: this will determine how many and what size drawers fit there.
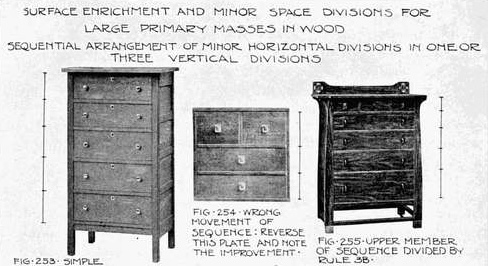
As you’d expect from Varnum’s book, uniform spacing is frowned upon. Drawers should get smaller towards the top of the piece, otherwise they look too heavy. Once again, graduated mode to the rescue!
Now for the drawers themselves.
Just like with doors, you can edit drawers individually or in bulk, depending on what’s selected.
Step 7: Add legs
The sideboard is not complete without a base. There are a few options, but legs often look very elegant.
You might want to pick the height as a nice ratio in relation to the case height. (Or not. There is no design police.)
Step 8: Get layout diagrams
Once you are happy with the design, the “Layout” view will give you all the key dimensions.
You don’t have to follow the layout to the letter, and dimensions may change slightly based on your choice of joinery anyway.
All done!
☙
Oh, and what about the finer details: curves, chamfers, roundovers, hardware, joinery?
You don’t need to model all of them to start building the cabinet. (“All models are wrong, but some are useful.”) And in my experience, once you have a wooden, not digital, project in front of you, you get much more clarity about what details it needs.
Start designing →