How to design a stick chair
Follow along using Layout Computer — a free furniture design app (no registration required). Simple controls, immediate feedback, layout diagrams.
Design a stick chair →Stick chairs are the evolution of staked stools. This furniture form, despite its rustic origins, looks great in modern settings.
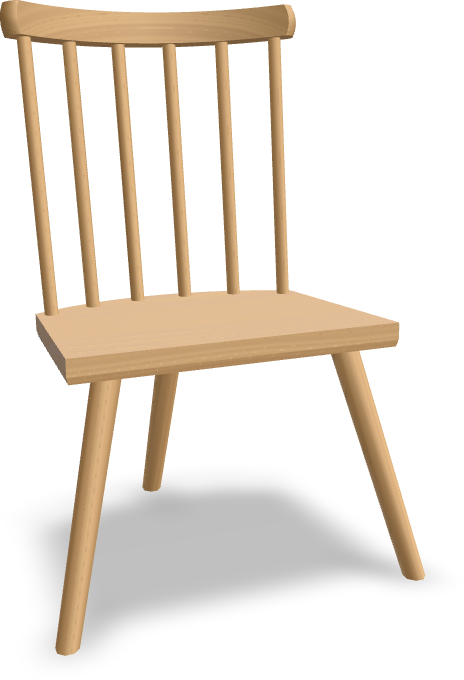
Welsh, Irish and everything in-between
Stick chairs have existed for ages. Today, most woodworkers learn about them from Chris Schwarz’s The Stick Chair Book or John Brown’s earlier Welsh Stick Chairs.
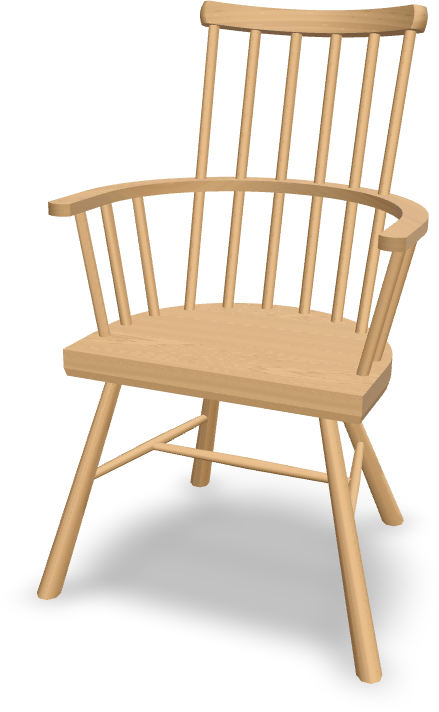
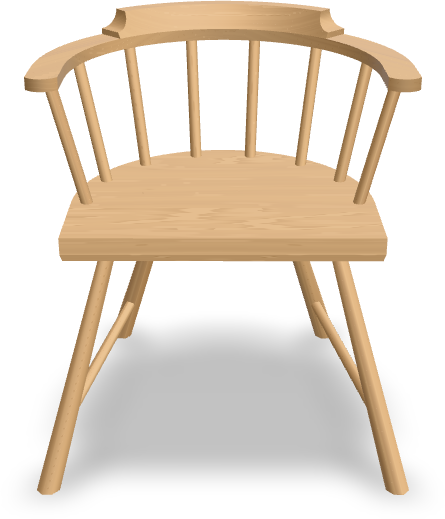
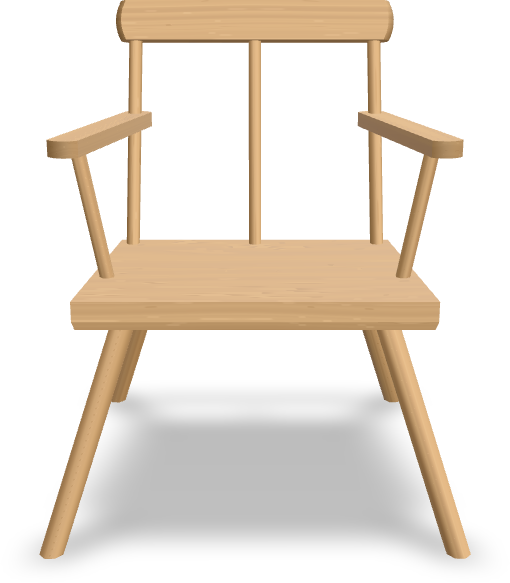
There are lots of variations. The Welsh chairs tend to have half-round seats, while the Irish ones are often squarer:
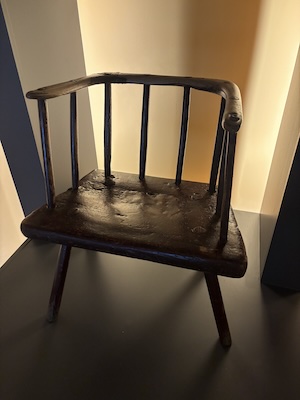
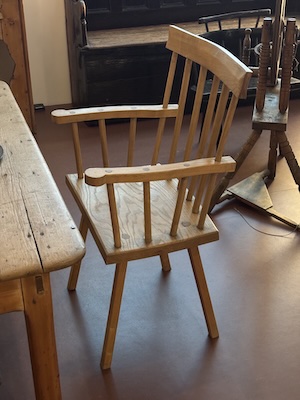
Of course, nobody stops you from combining several traditions in one chair.
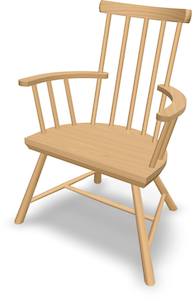
With so many options, how do you approach designing your own chair?
Until you’ve built several of them, the easiest thing to do is to take a chair you really like and try to replicate it, making small adjustments.
Quick chair prototyping
“Wait”, I hear you say, “how am I supposed to replicate a chair, let alone make adjustments?”
Indeed, it’s difficult to visualize the chair you are planning to build without some prototyping. But complex geometry and numerous parts make stick chairs hard to draw and hard to model in typical 3D design software.
Physical prototypes work better.
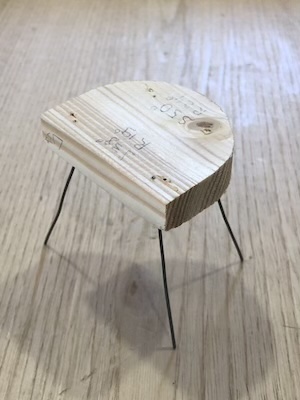
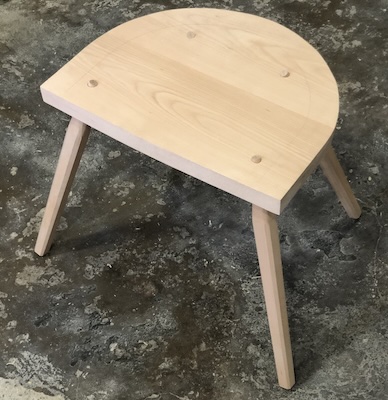
Wire models, however, are still fiddly and don’t allow you to “preview” the whole chair.
This is where Layout Computer comes in: you can try ideas instantly and see what looks best in a realistic 3D rendering. And you get a set of layout diagrams for actually making the thing.
Example design
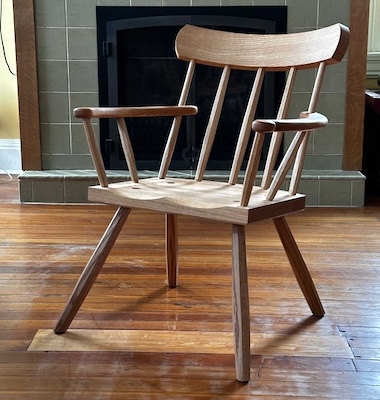
Let’s try to copy and adapt Chris Schwarz’s “Irish-American” chair:
Step 1: Get started
First, create a new project (free, no registration). Don’t dwell on which template to pick, since you can adjust all the options later.
You can switch between inches and millimeters in project settings. In this guide, we’ll use inches.
Step 2: Match the main elements
This is by no means a rule, but I like to configure the overall style of the chair before messing with dimensions and angles.
In our case, the chair has a (mostly) rectangular seat, a medium-height back, split arms, four legs with no stretchers, and nine sticks.
Step 3: Nail the ergonomics
Next, for our first customization, adjust the key comfort settings: seat height, width, depth and angle; back angle and height.
Because chair ergonomics is an individual thing, it’s a good idea to copy these measurements from a chair you (or your customer) have sat in and found comfortable. Even if that chair is totally different from the one you are adapting. Yes, even if it has no sticks.
Step 4: Make things proportionate
At this point, you can play with things like seat thickness, arm width and curvature, and backrest height. You can copy them or make them your own — whatever looks more proportionate to you.
Step 5: Angle the legs
I find that the range of angles that look good and don’t weaken the chair is actually not that big. You can either try to dial the angles by eye, or copy them from a book, or just use the defaults that came with the template.
Step 6: Arrange the sticks
Usually, I leave this step to the end because a lot of the other settings can disturb the stick arrangement.
The main settings to play with are the offsets of the first and last stick from the edges of the seat and the arms, as well as the gap between the short and long sticks.
The app automatically distributes short and long sticks based on the seat shape.
Step 7: Get layout diagrams
Once you are happy with the design, the “Layout” view will give you all the key dimensions.
All done!
☙
Oh, and what about the finer details: scooped seat, arm curves, various chamfers, roundovers and facets?
You don’t need to model them to start building the chair. (“All models are wrong, but some are useful.”) And in my experience, once you have a wooden, not digital, project in front of you, you get much more clarity about what details it needs.
Start designing →