How to design a table
Follow along using Layout Computer — a free furniture design app (no registration required). Simple controls, immediate feedback, layout diagrams.
Design a table →Almost everyone needs a table, whether it’s for eating, working, playing games or corralling TV remotes.
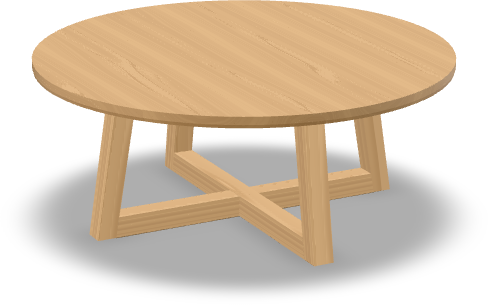
Following tradition
Unlike staked stools, which all have pretty much the same components arranged the same way, wooden tables seem to come in an endless variety of shapes.
For example, Bill Hylton’s Illustrated Cabinetmaking lists over 40 tables and desks.
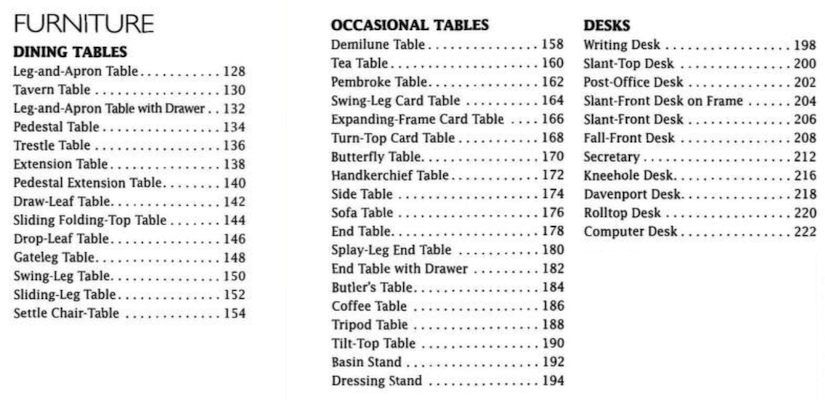
If you are trying to design a clean, modern table, all these options might be overwhelming. But don’t despair. Browse Pinterest long enough, and you will start noticing that most designs boil down to just a few classic constructions.
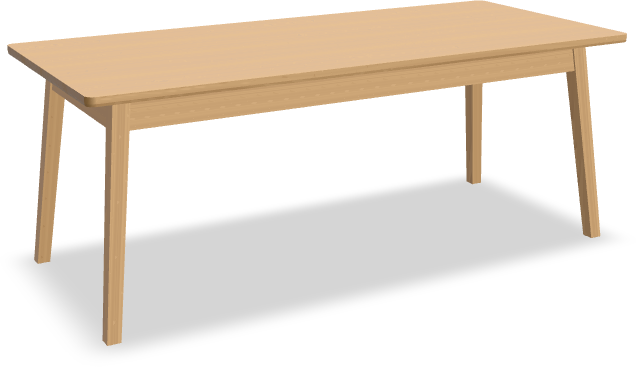
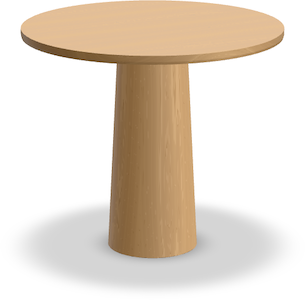
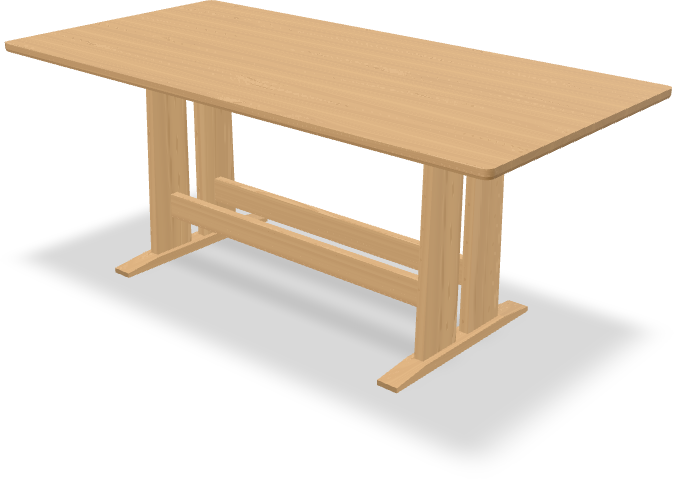
A leg-and-apron table. A trestle table. A pedestal table.
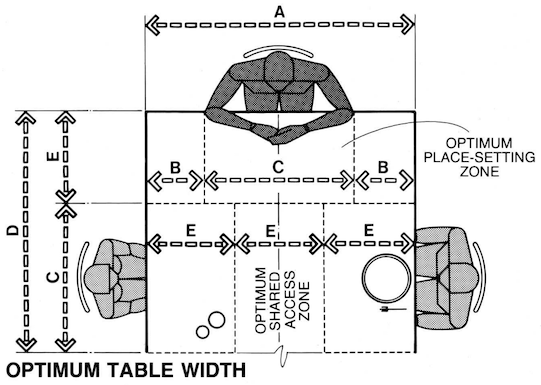
On top of that (pun intended), tables typically have standard heights and dimensions depending on the purpose (dining, working, etc). Human Dimension and Interior Space by Julius Panero and Martin Zelnik is a great help for making sure your table is big enough.
So you’ve picked a traditional construction and determined some of the dimensions. Now what?
Quick table prototyping
There are still quite a few details you can play with. Take a leg-and-apron table: legs could be straight or splayed, thick or thin, square or rectangular in cross-section. For a trestle table, the position of the trestles changes the stance significantly.
You need to experiment with a few ideas and see what looks best.
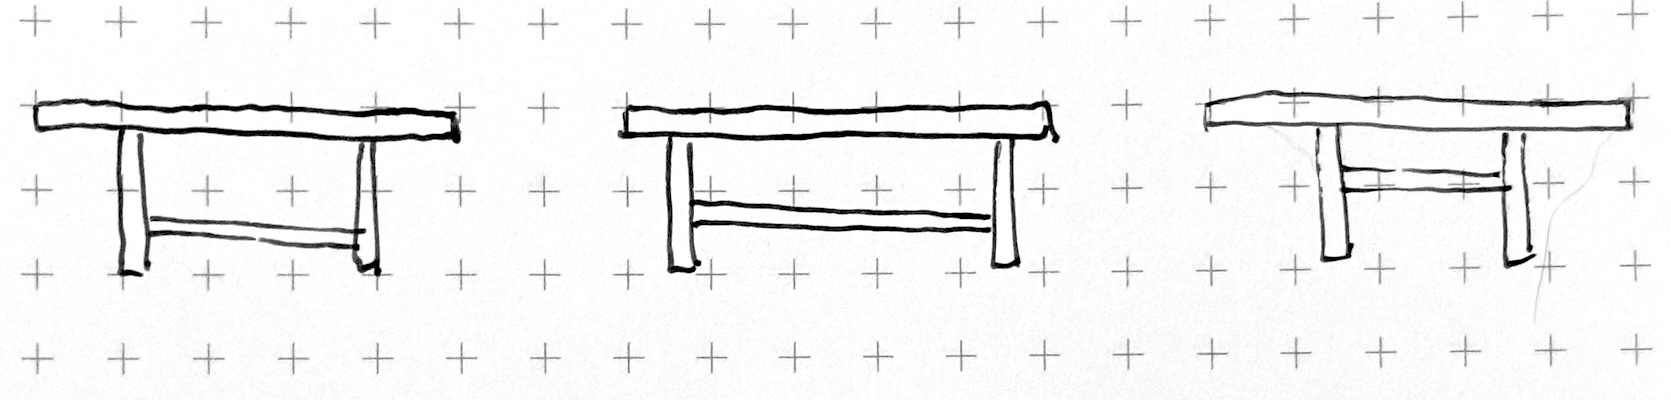
Pen and paper is the classic solution, but adjusting a drawing is a bit tiring. And it’s hard to keep the thin parts in scale with the rest.
Another alternative is 3D modeling. With typical software, however, it gets notoriously tricky for angled legs and the like.
This is where Layout Computer comes in: you can try ideas instantly and see what looks best in a realistic 3D rendering. And you get a set of layout diagrams for actually making the thing.
Example design
Here’s how I approached designing my dining table.
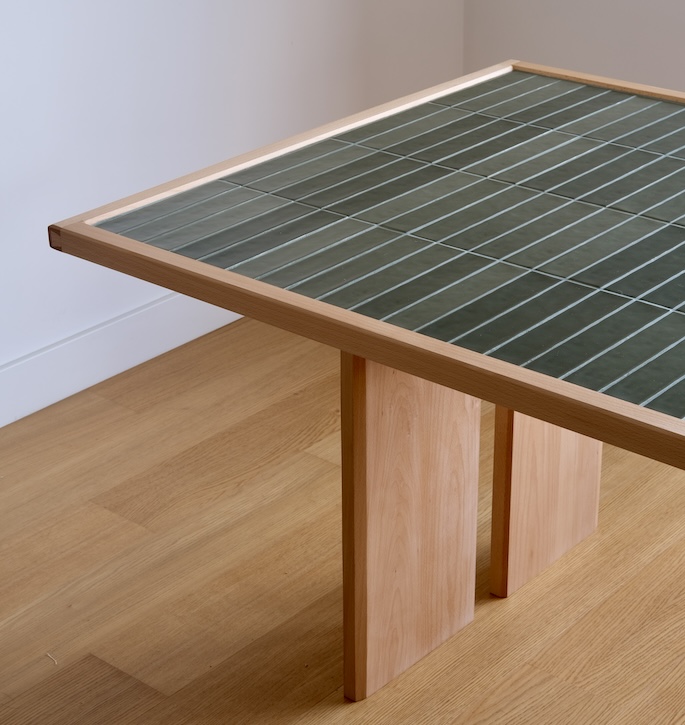
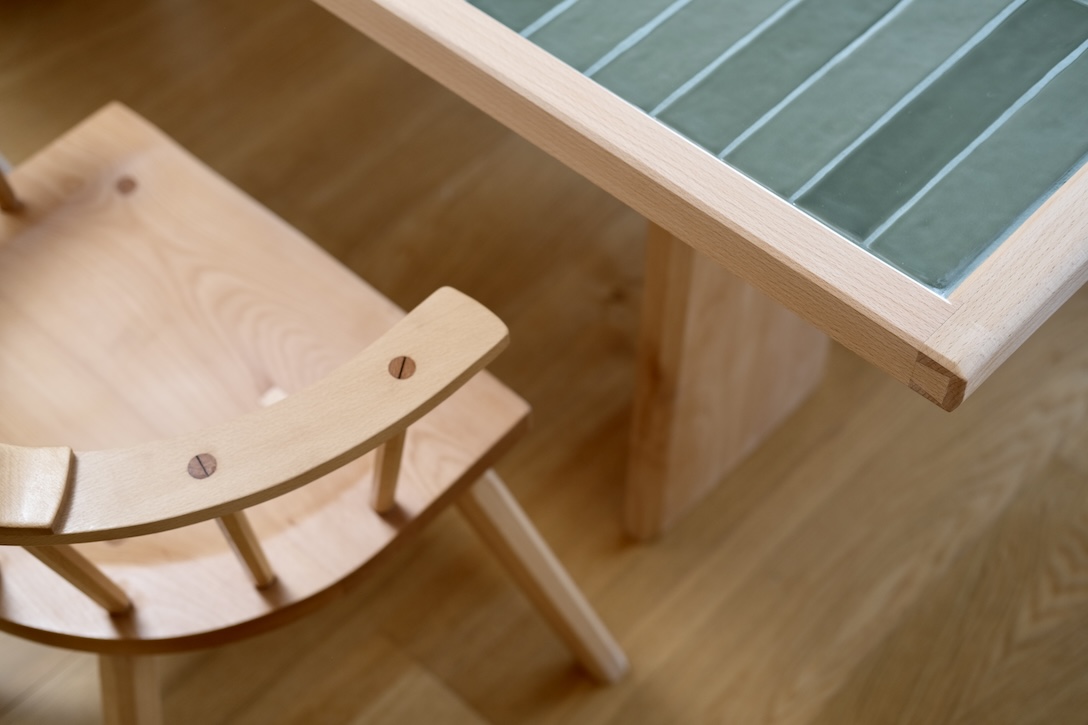
(I’ve tiled the top, but that does not change the overall form.)
Step 1: Get started
First, create a new project (free, no registration). Don’t dwell on which template to pick, since you can adjust all the options later.
You can switch between inches and millimeters in project settings. In this guide, we’ll use millimeters.
Step 2: Choose the top and the base
In my case, the tiles dictated a rectangular top.
I then picked a panel base. The table is surrounded by stick chairs, which have very prominent thin vertical elements (sticks and legs). So a leg-and-apron base was out: not enough contrast. The trestle base… my wife was not a fan.
Step 3: Configure dimensions
The height of a dining table is pretty standard. I measured it off two other tables.
The depth is based on fitting 4 tiles, and the width should be (just barely) enough to squeeze 3 people in on each long side.
Step 4: Adjust the base
For a panel base, the two main settings are the position of the panels (in front view) and their width and spacing (in side view).
Mostly, it’s about finding good-looking proportions.
Many of the app’s settings are in percentages, so that the proportions are preserved if you need to resize the whole table later.
I did make sure that there was enough leg space around the panels on both the short and the long sides of the table.
Step 5: Add stretchers
Stretchers prevent the panels from racking.
In my case, the whole top rests on them, in addition to an elaborate reinforcement structure. You can watch the build video if you are curious.
Step 6: Get layout diagrams
Once you are happy with the design, the “Layout” view will give you all the key dimensions.
All done!
☙
Oh, and what about the finer details: curves, chamfers, roundovers?
You don’t need to model them to start building the table. (“All models are wrong, but some are useful.”) And in my experience, once you have a wooden, not digital, project in front of you, you get much more clarity about what details it needs.
Start designing →